 Last week was rough. Everyone except Jackie was battling a cold, vertigo, and sinus infections (yes, this includes Stella). Can you tell Jackie's nose is really pink? (and don't you want to give her a big kiss, look at that face!) Sickness or not, I dragged us through Ikea to finish pre-shopping for final measurements and costs.
Nothing in my original pre-pre-shopping event stuck on this project. This includes cabinets, paint, and accessories.
First off, a very convincing (and helpful) Ikea worker showed us the Varde series. Winner!

Forget the ugly and boring, these horizontal folding-door cabinets are much cooler and provides more storage space than vertical cabinets.
After some debating, we went with the slim shoe cabinets since they take up less width than the doubles. We lose some shoe storage, but I gain room for my butt while I load and unload baskets of clothes.

[p.s. don't know why I left the flash off, so excuse the doom and gloom pictures. I'll get better, I promise!]
Before starting anything, it's time to research then buy supplies shopping at Home Depot (#1). I love me some YouTube tutorials.

First step:
Cleared out laundry room of everything except the washer and dryer. This includes removing the original shelf and brackets. Didn't realize how much junk we packed into this space. See how unappealing this room is?


Pain point #1:
Shelf removal should have been straight forward. Whoever hung them was definitely huffing paint. I found extra screws, painted over nails/screws, mixed use of nails instead of screws and vice versa--worst of all--wood blocks. Try as I might, I had to suck it up and wait for him to wake up and ask for help. After another trip to Lowe's (#2), a new smaller crow bar, and chiseling around the nail/screw, we finally wrenched those blocks off.

Pain point #2:
Washers are heavy. Especially moving them out and down a tiny step.Second step:
Scrape and patch the wall. I had a floor to ceiling crack, a medium size hole by the washer box, and a few dents from removing those support blocks. Finish it off with more spackle, sanding, spackle, and wiping down the walls for paint.
Pain point #3:
The mesh patch I bought to cover the hole was just a centimeter or so too small. It gets worse: because the hole butted up to that washer box, there wasn't a fourth wall to secure it! DAMN IT! So back to Lowe's & Home Depot (#3) (yes, went to both) to get some drywall.
Third step:
Texture the wall. I was pretty confident, he was not (common thread in his lack of believing in my untested skills). I tested my spray and knock down on some scrap wood outside. Not going to lie, test went badly. Still, it didn't seem too difficult, so I decided to wing it and do the walls anyway. Ran out of texture because I used so much of the can in the test, so back to Lowe's (#4) to buy more. In the end, I think I did great and matched it up fabulously. (He does admit I did a good job on this, so there.)

No crack!

Hole begone! Can you tell it used to be a 6" hole?
Forth step:
Paint paint paint! Tried green, blue, and more blue. Finally went to a lemony/buttery yellow (sorry again, forgot to put the flash on). I was testing what size stencil to create, but didn't choose either you see here.

It took two coats and a rushed third around the trim. It was much better than the living room experience which required three or four coats. (Oh, and it included a trip to Home Depot (#5) to buy an extra quart.)
Fifth step (and also pain point #4)
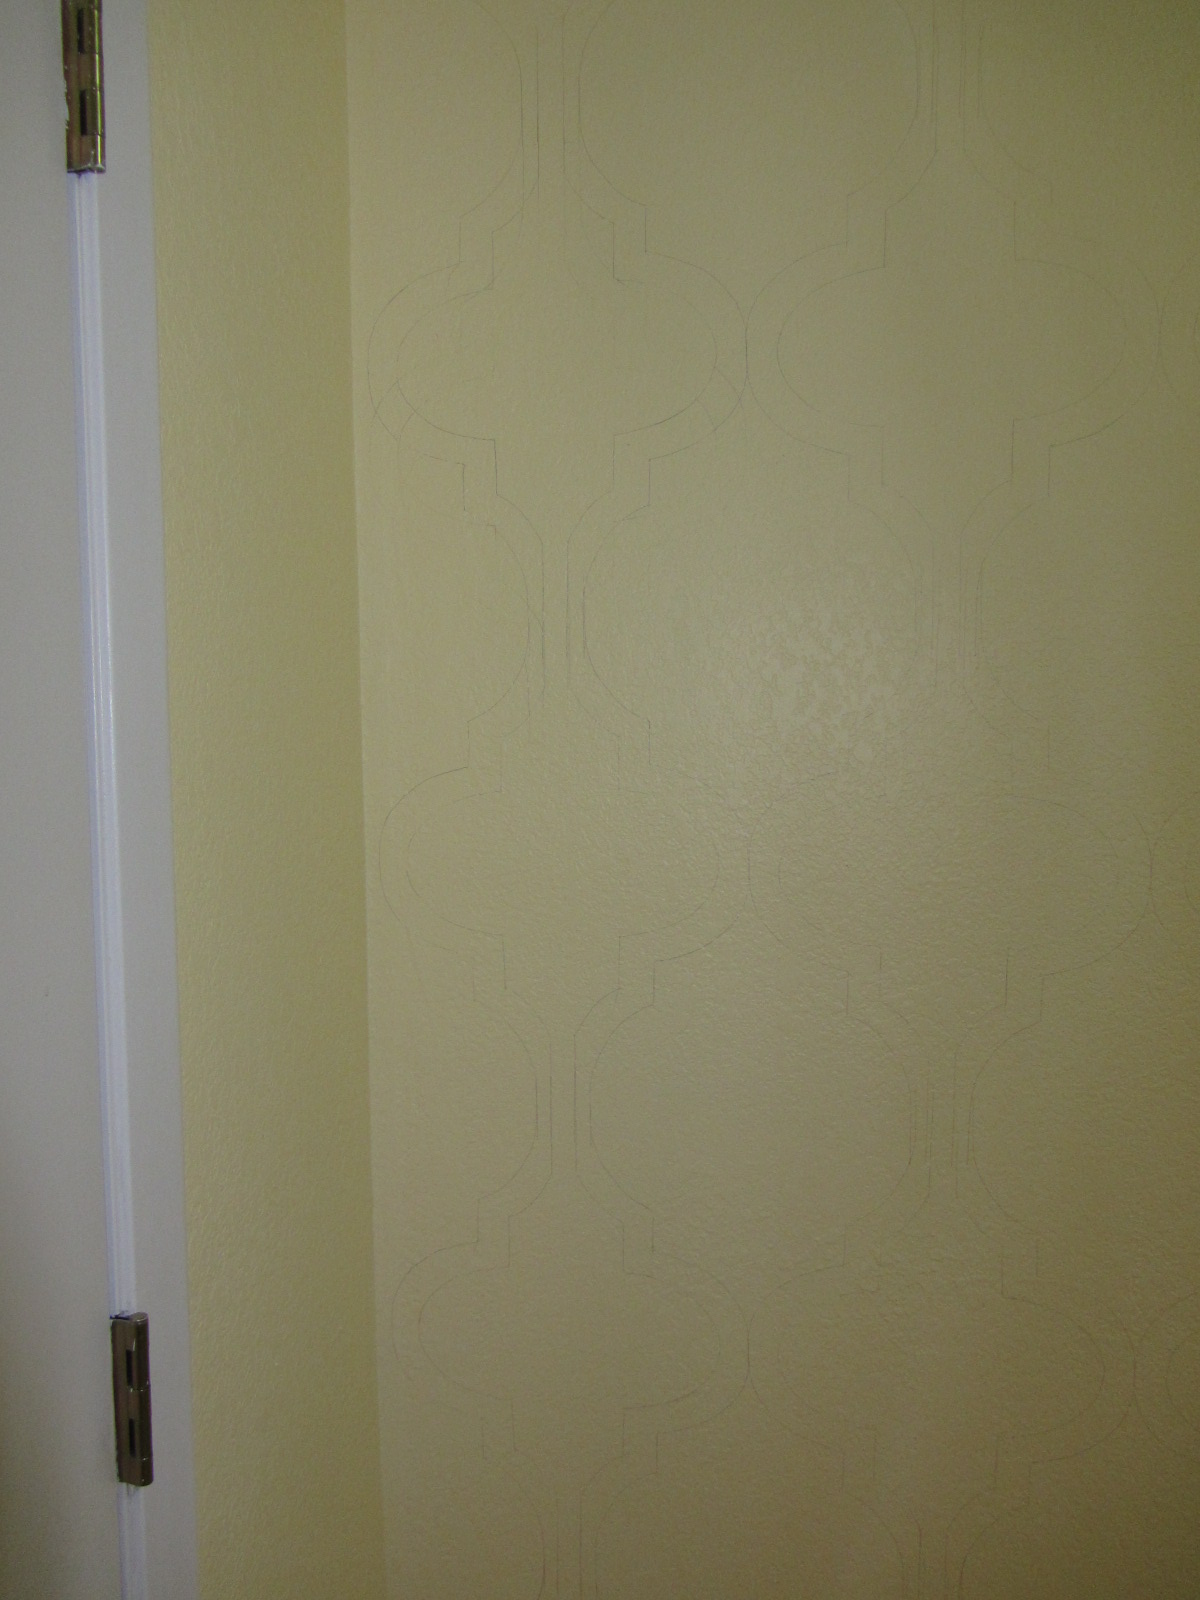
Stenciling without a stencil. Which really means, I drew something on the wall and painted it. I couldn't find a stencil design or size I liked, so I made my own and hand-painted the design. I had help with some large grid paper from JoAnn's (#6 & #7) and a handy leveler. Unfortunately, my walls are warped and floors are slanted. It was a combo of eyeballing for perceived evenness and measured correctness. Bad news, pencil refuses to come off freshly painted walls. I had to go over the lines over and over and over again to try to hide those pencil marks. BTW, I LOVE MY ACCENT WALL! Too bad it's getting covered by cabinets and machines.


Lessons Learned
1. Go with instinct on paint color, it turns out better.
2. Plan a thorough shopping list, plan to do returns instead going back half dozen times.
3. Stencils are beautiful, but a pain in the ass.
4. I'm right, but he is a lot right also.
Cabinets are going up next! Wish us luck!
love love love
ReplyDeleteplease come over and do a wall or couple in my house please!!!!
This comment has been removed by the author.
ReplyDeleteSomething really needs to happen here.... It's so lonely
ReplyDeleteHow'd those cabinets turn out? ^_^
ReplyDelete